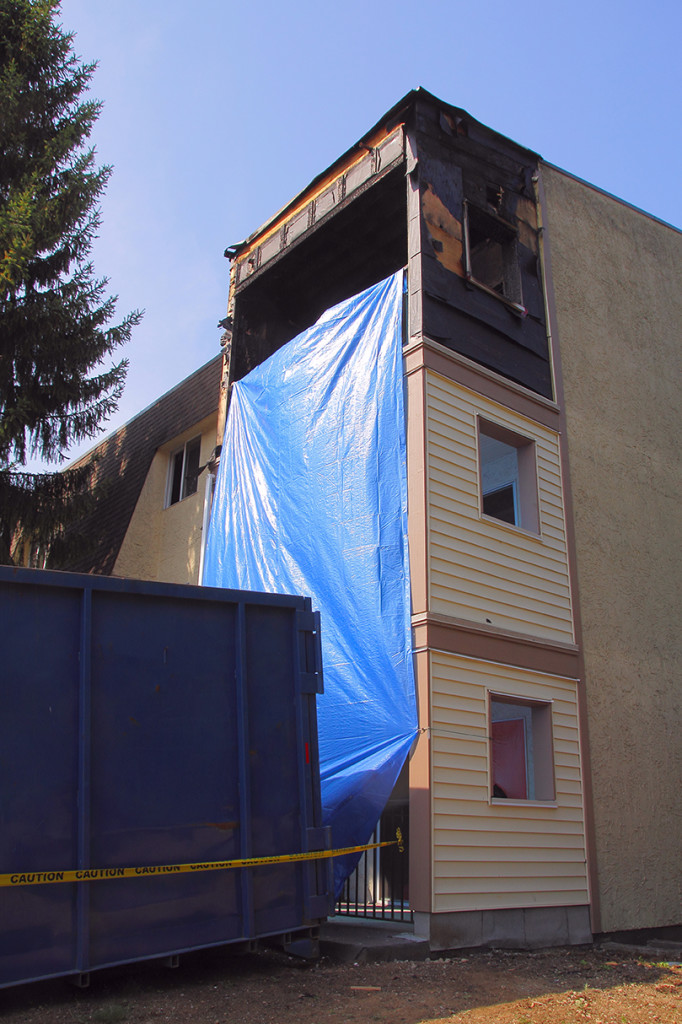
Roof Tarp in Arlington Heights, Chicago, Mt. Prospect, Park Ridge, IL, and Surrounding Areas
Roof tarping is a crucial skill for homeowners, especially after severe weather events or when unexpected damage occurs. A Emergency Services & Restoration offers roof tarp in Harwood Heights, Northfield, Arlington Heights, Chicago, Mt. Prospect, Park Ridge, IL and surrounding areas.
Properly installing a tarp can prevent further damage and provide temporary protection until professional repairs can be made. This is a step-by-step guide to help you through the process.
 Materials Needed:
- Heavy-duty tarp
- Ladder
- Safety harness
- Measuring tape
- Utility knife or scissors
- 2×4 lumber
- Nails or screws
- Hammer or drill
Safety First:
Before starting, prioritize safety. Use a sturdy ladder, and always wear a safety harness when working on the roof. Avoid working in bad weather conditions to minimize the risk of accidents.
Step-by-Step Instructions:
Assess the Damage:
Start by inspecting the extent of the damage from the ground. If the damage is extensive, consider professional help. If it’s manageable, proceed to the next step.
Measure and Cut the Tarp:
Measure the damaged area, adding an extra 4 feet on each side to ensure adequate coverage. Cut the tarp to size using a utility knife or scissors.
Position the Tarp:
Carefully climb onto the roof and position the tarp over the damaged area. Ensure it extends past the damage on all sides.
Secure the Edges:
Place 2×4 lumber along the edges of the tarp. Roll the tarp’s edge around the lumber and secure it with nails or screws. This prevents the tarp from being blown away by the wind.
Anchor the Tarp:
For extra security, nail or screw additional 2x4s perpendicular to the first set, sandwiching the tarp between the wood. This method ensures the tarp remains firmly in place.
Check for Leaks:
Once secured, inspect the tarp for any gaps or potential leaks. Adjust as necessary to ensure complete coverage and protection from water ingress.
After Tarping:
Regularly check the tarp, especially after high winds or additional storms, to ensure it remains secure. Remember, tarping is a temporary solution. Contact a professional roofer as soon as possible for permanent repairs.
By following these steps, you can effectively tarp your roof, providing essential protection until professional repairs can be completed.
If you need assistance, we’re just a phone call away.


